

1. Click on the apple in the top left corner and select "System Preferences"
2. Select " Printers & Scanners"

3. The Printers & Scanners window may be locked, to unlock, click the lock and enter your credentials.

4. Click "Add a Printer" by selecting the plus sign at the bottom of the window.

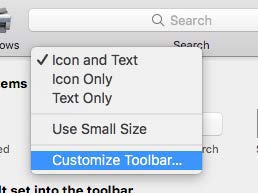
5. After the new window opens, control + click on the top of the new window and select "Customize Toolbar"
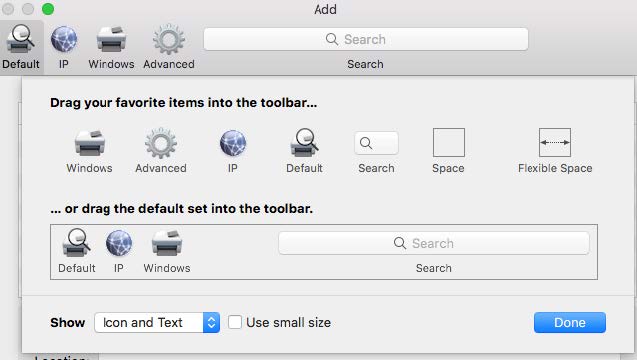
6. Drag the Advanced toolbar to the open space on the "Add Printer" window.
7. Click on the Advanced toolbar and wait for the Searching for Printers message to complete.
8. Enter fields as shown:
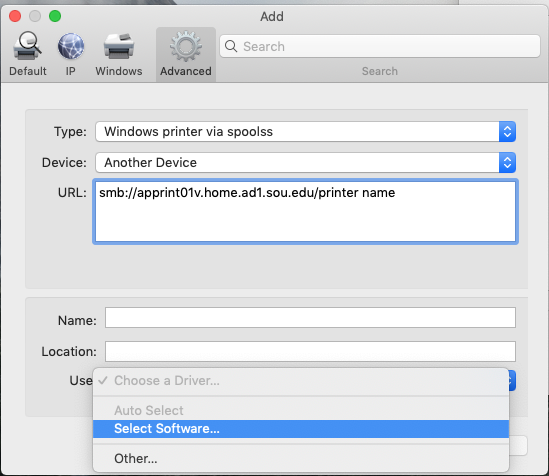
9. Select the drop down arrow next to Use: and choose Select Software
10. Use the search box in the upper right to find the printer model.
11. Select Add in the bottom right of the window.
Add a comment
Please log in to submit a comment.