

The "Group Members" resource creates a page that lists either the members of a student's group or every student in all groups. Here's what the link looks like on your course page—note that you can name the link however you like (Teams, Groups, etc.).
Student View: Own Groups
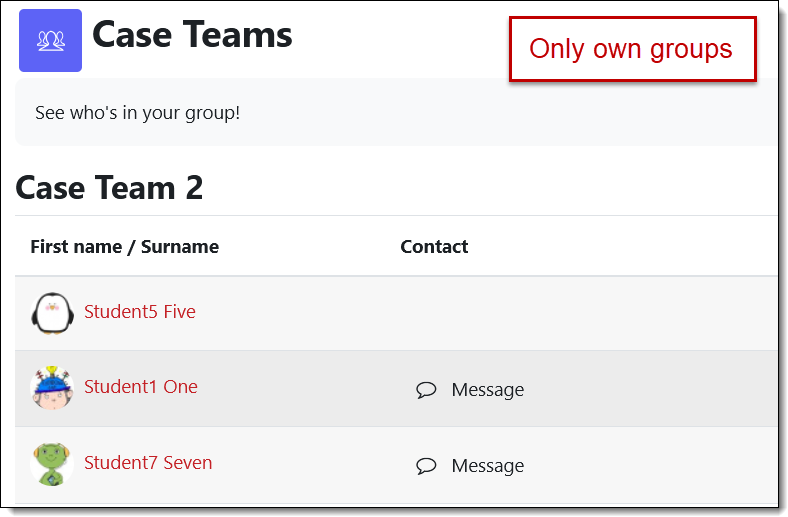
Here's what Student One sees when the Group Members resource is set to show "Only own group."
 Student View: All Groups
And here's a view of what Student One sees when all of the groups are displayed:
Faculty View
If you work with groups in Moodle, you're probably aware that you don't need to be enrolled in a group in order to track your students' activity within their group. Because as a teacher you aren't formally enrolled in any groups, when you post a Group Members resource set for "Only own group," you'll see the message shown here when you open the link. Never fear, students are seeing their groups! If a Group Members page is set to "All groups," you will see all of the students listed just as they do.
Faculty can see who is in which group by opening the Participants tab at the top of the course page, selecting Overview from the Groups section of the options menu on the left.
Set Up Group Members Resource
To create a Group Members link, with editing turned on:
- Click on Add an activity or resource and select Group Members in the RESOURCES area.
- Name the link (Team Members, Groups, Peer Groups, etc.).
- Add a description if you like.
- If you have groupings set up to manage multiple sets of groups, choose the grouping to display. Select none to display all groups a student belongs to.
- Select "Only own group" to limit the list of participants to a student's own group(s) or "All groups of grouping" to show all students in all groups.
Make any other standard choices in the remaining fields and Save changes.
Add a comment
Please log in to submit a comment.