

A very cool feature in Moodle allows us to drag an image file into Moodle and drop it onto our course home page. It can either be displayed as an image or be posted as a file resource. Note: The image file (in .jpg, .gif, or .png format) must be saved to your computer before you can achieve this effect. Here's how it works:
- Turn editing on in your Moodle course.
- Open Windows Explorer (or Finder on a Mac) and locate the image file you want to post in Moodle.
- Arrange your applications so that your list of files is on one side of your screen and Moodle is on the other. For best results, make sure you can see the icons associated with the items posted in your course site.
- Click on the file that you've chosen and drag it over to Moodle, positioning it at the bottom of the list of items posted in the destination section.
- When the + Add file(s) here and → Move scripts appear, drop the file onto the page.
- A dialogue box will appear, offering a choice between adding the image to your home page so that it is displayed or adding it as a file resource. After you make your selection, click on Upload.
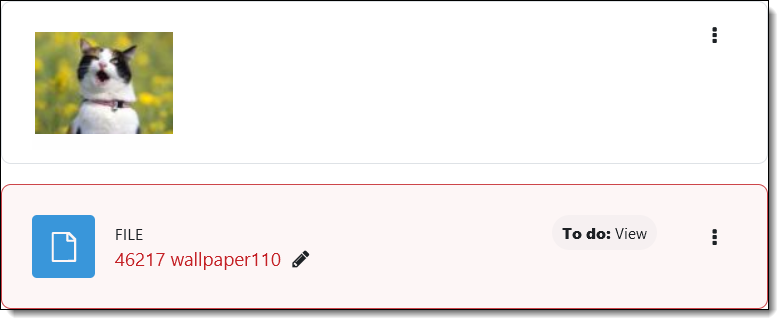
Besides showing your drop options, the screenshot below illustrates how the graphic looks when dropped as an image and how it appears when dropped as a file resource.

Add a comment
Please log in to submit a comment.