

This may sound a little complicated at first, but it's actually very easy to do and WAY faster than creating individual entries!
First, prepare your terms to upload to the glossary. You'll need a spreadsheet eventually, but if you have terms in a Word doc, you can convert them to a table format that you can then import to a spreadsheet. (Ask for help if you need it!)
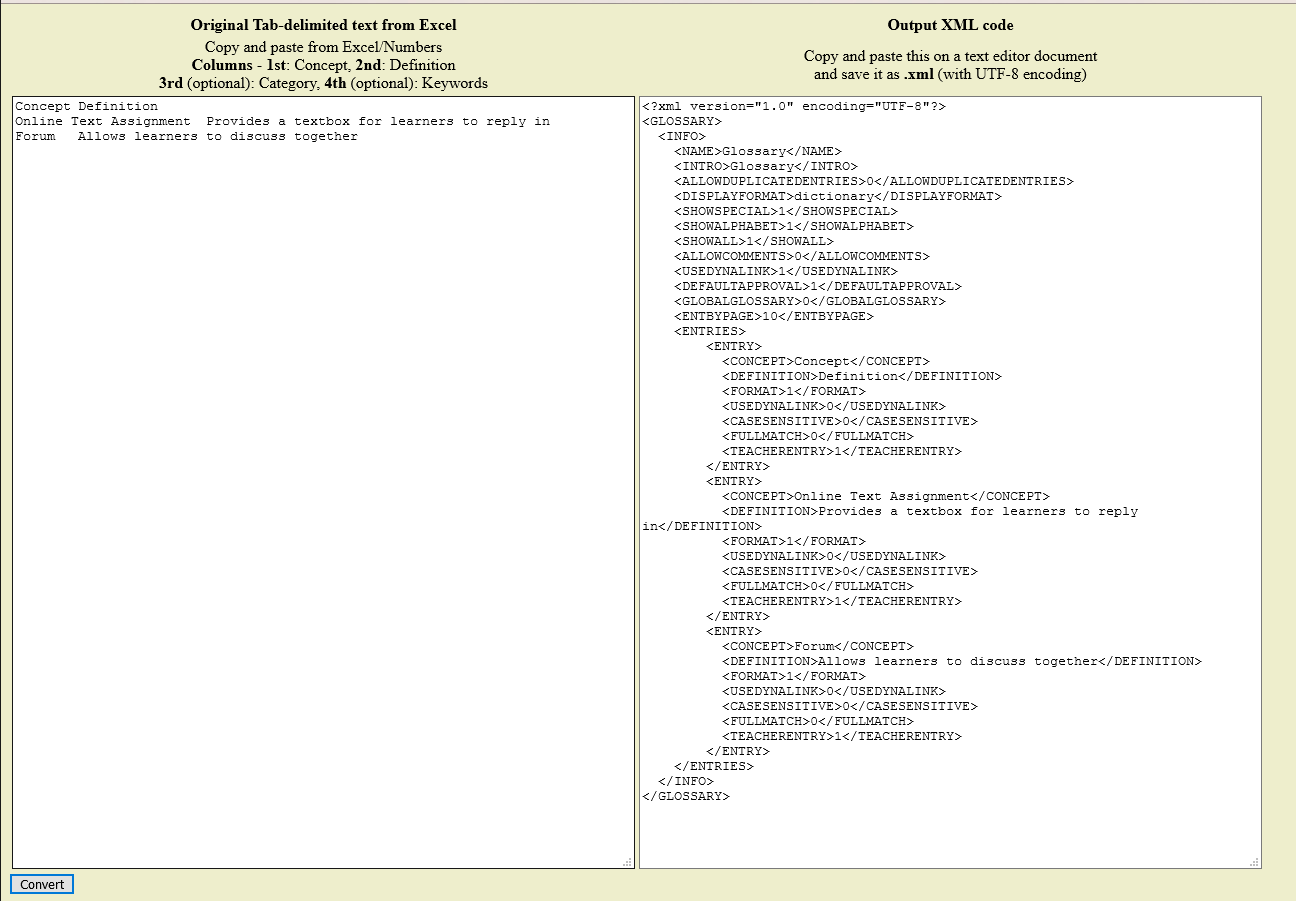
- You'll be using at least two columns. Label the first column (A1) Concept. Label the second column (B1) Definition. If you would like to categorize your entries, add a label for the third column (C1) of Category. If you intend to add keywords, label the fourth column (D1) Keywords. (Note that you do not need to include any text in the category field to use keywords.)
- Use one row for each concept and definition. (I have only been able to add one line of keywords, rather than having each key word stand alone, just so you know).
- Once you've entered all of the concepts and definitions, save your spreadsheet as a Tab-delimited text file (.txt).
- Open Wordpad (or the equivalent Mac application for editing plain text).
- In Wordpad, open the text file you just created.
- Select all of the text and copy it.
Next, you're going to paste the text into the XML generator.
- Open a browser and go to the generator. (You can save or open it.)
- Paste your text into the textbox on the left.
- Scroll down and click on Convert to generate the XML code in the textbox on the right.
- Select and copy all of the code in the XML textbox on the right.
- Create a new file in Wordpad and paste all of the copied code into the file.
- Save as .xml and select UTF-8 encoding if given the opportunity. (Wordpad allows you to simply add .xml as the file extension and the text will be UTF-8 encoded.)
Whew! Now you have an XML file that you can import into your glossary.
- Create a new glossary, save and display it, or open an existing glossary.
- Click on the admin gear and select Import entries.
- Browse for your newly created XML file and select it.
- Click on Import and away you go! You'll see a confirmation message that your entries were successfully added.
- You'll note that you've created an entry called Concept that includes the column heading information that you used to create your file. Simply delete that entry as the headings have already served their purpose.
Add a comment
Please log in to submit a comment.