

This article will show you how to indicate your present work status (in the office, work from home, out sick, on vacation, etc.) using Google Mail and Google Calendar. If you require assistance with these steps, contact your Computing Coordinator.
Google Mail
Google Mail supports setting up an automatic response message that will go out to anyone who emails you while it is active. This can be useful for setting an out of office message if you will not be responding to email, or your responses to email will be significantly delayed, for a period of time.
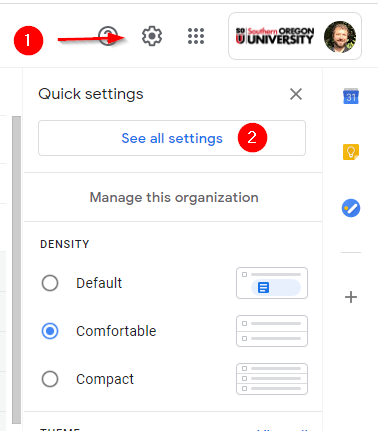
Step 1 - Access Google Mail settings
Use the gear icon in the top-right region above your inbox and click on See all settings.
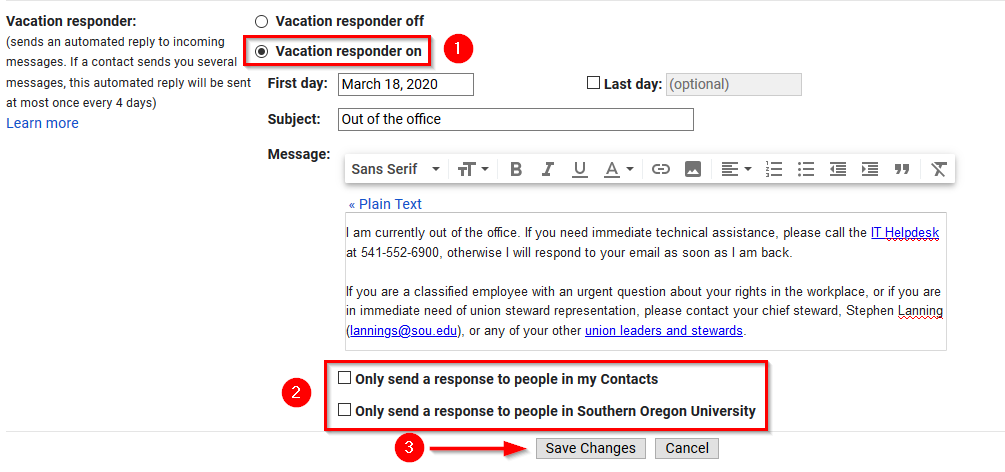
Step 2 - Set your vacation responder message and duration
Scroll down the list of options under the General tab (the one that loads by default) until you reach the bottom, where you will find the vacation responder settings.
Be sure to click the radio button to turn it on. You can specify an automatic end date here if you want.
Type in a subject for the email message followed by the body of the message.
If desired, click the check boxes below the body of the message to limit who will receive your auto-response.
We recommend that you leave both boxes unchecked unless you have a specific reason to limit it.
Finally, don't forget to click Save changes!
Step 3 - Turning off your vacation responder
When your vacation responder is enabled, a yellow bar will appear on top of your Google Mail inbox. You can use the link End now in the yellow bar to turn off your vacation responder with a single click.

Google Calendar
When you are out of the office, it is a good idea to set an out of office event on your Google Calendar to let other people know that you are unavailable for meetings and events.
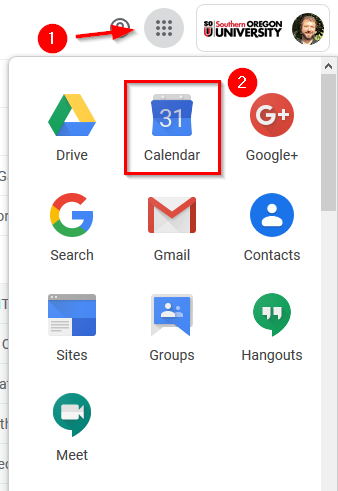
Step 1 - Access Google Calendar
Use the app picker in your Google Mail window, or navigate your web browser to https://calendar.google.com.
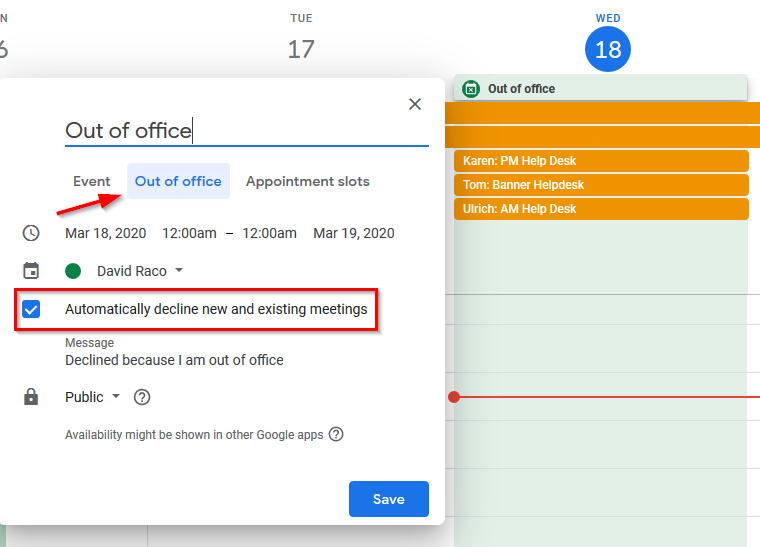
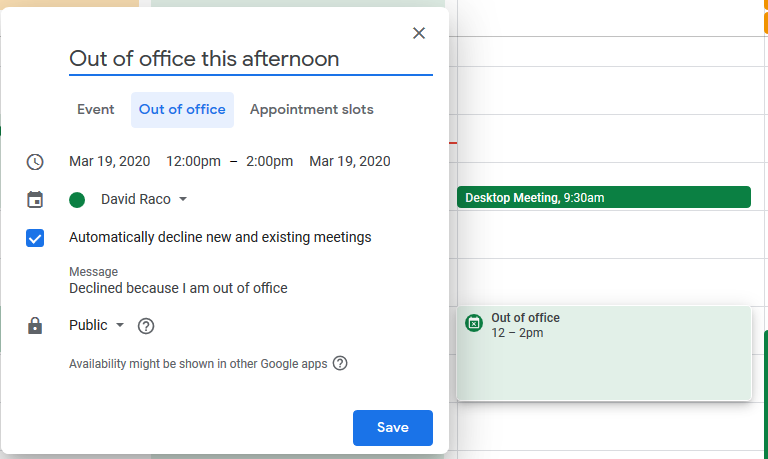
Step 2 - Set up an out of office event on your calendar
To set up an all-day event, click the top of your calendar for that day and then change the event type to Out of office.
You can modify the start and end dates from the properties window that will appear if you need for your event to extend past one day.
Use the checkbox for automatically decline new and existing meetings to control whether you want your calendar to automatically reject appointments while you are out.
If you uncheck that setting, people will still be able to invite you to appointments, but they should see your status as out of the office when they check your availability.
If you will only be out of the office for a portion of the day, you can create a calendar event like usual during that timeslot and change it to Out of office as in the previous step.
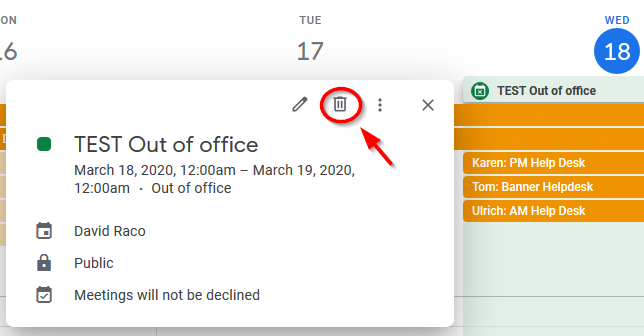
Step 3 - Remove Out of Office from your calendar
Select the event and delete it as you would any event on your calendar. Click on the event and then click on the trash can icon to delete it.
Add a comment
Please log in to submit a comment.