

This article will show you how to use Google Jamboards as a remote whiteboard. If you require assistance with Jamboard, contact your Computing Coordinator.
Step 1 - Open Jamboard
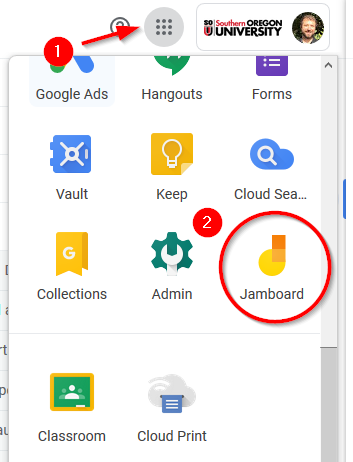
You can either go directly to https://jamboard.google.com or find Jamboard in the list of Google apps in the app picker, which is located near your profile icon in the top-right region of the Google Mail screen.
Step 2 - Create Your Jam
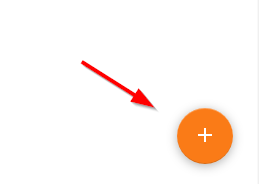
Use the orange + icon in the bottom-right of the screen to get started.
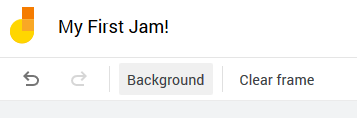
You can name your Jam if you plan to save it for later by using the field at the top of the screen.
Step 3 - Draw on Your Jam
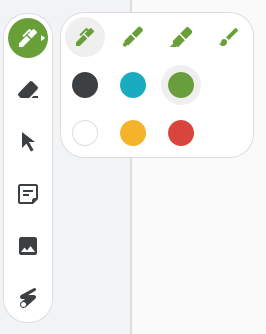
You will find all of your tools in a menu along the left side of the screen. From top to bottom, your options are:
- Pen - You can change the type of pen and the color by clicking on the icon to expand the menu.
- Eraser - Use this to erase what you have drawn.
- Select - Use this to move an item around, such as a sticky note or an image.
- Sticky note - Puts a digital sticky note on your board with some text in it, which you can then move around.
- Image - Insert an image file directly into your Jam board.
- Laser pointer - Use this to draw attention to something on the board. It acts like a pen whose ink "evaporates" quickly.
You can clear your entire board at any time by using the clear frame button in the top-left corner of the screen. You can use the background button to select a different background for your board.
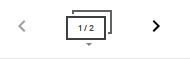
If you need another board to draw on without erasing your previous work, just click on the right arrow icon next to the board counter in the middle of the screen along the top. That will give you a blank board to work with while preserving your previous board. You can switch between them now using the arrows.
Step 4 - Share Your Jam
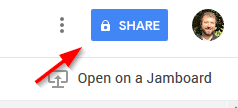
To invite participants to view/collaborate on your Jam, use the share button in the top-right region of the screen.
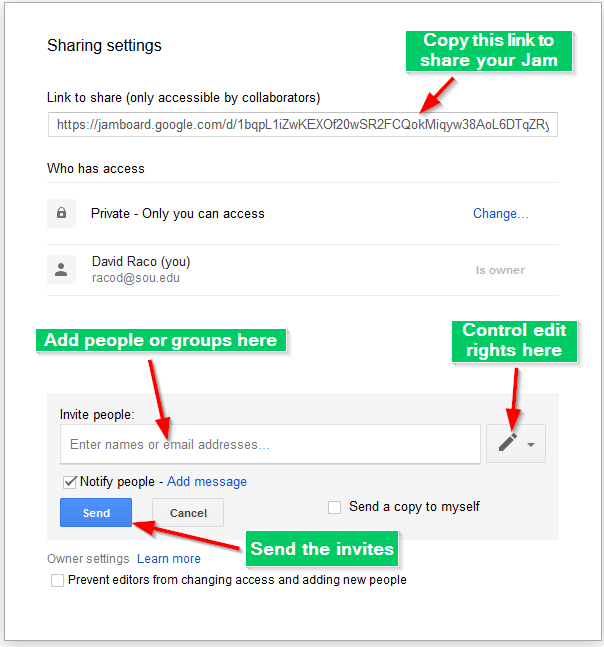
You can then use the standard Google sharing settings to share your Jam out with whomever needs to see it. You can give them edit access to draw on your boards with you, or you can restrict them to view only. If you have questions about how to manage sharing in Google's products, contact your Computing Coordinator for a tutorial.
Step 5 - Save Your Jam
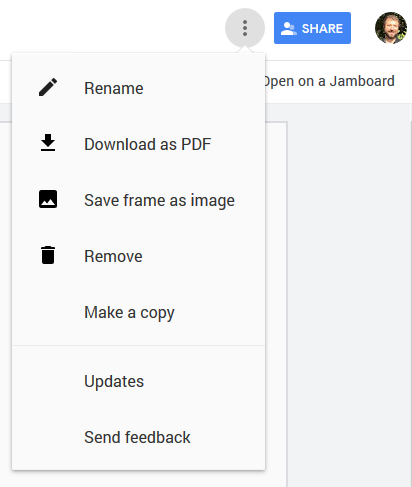
Google automatically saves your Jam for you, but if you want to download a copy, use the three vertical dots next to the share button. You can then either download the Jam as a PDF or as an image file.
Add a comment
Please log in to submit a comment.