

Moodle allows you to provide links to related resources and activities by using tags. Here's how it works:
As you create resources and activities, tag them with an appropriate key word (or words). When you add a Tags block to the block drawer, the tags will appear in the block. Clicking on a tag will display links to the items you have tagged with that key word. Note that each item displays the item type—where the icon is missing in the list below, the link is for a file resource.
Create a Tag
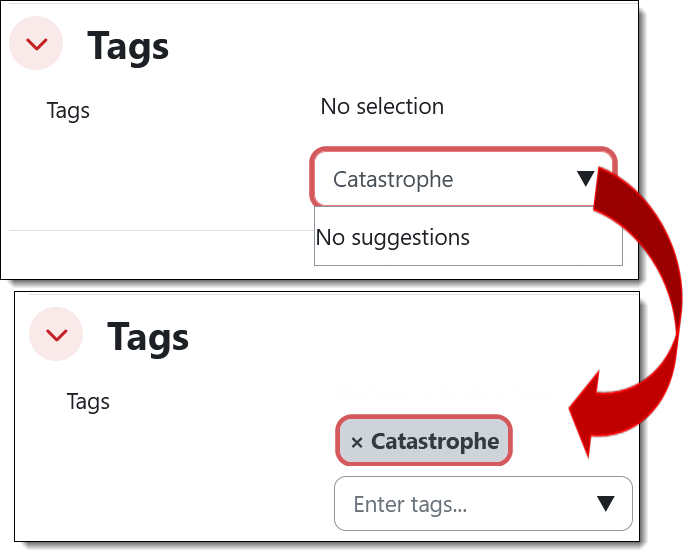
To tag an item, open it in edit view, then scroll down to expand the Tags option area. Enter the first key word in the field provided and click on Enter to save the tag. Add more tags if appropriate. Save the item to record your changes.
 Add a Tags Block
With editing turned on in your course and the block drawer on the right expanded, click on the Add a block.... button at the top of the section and select Tags from the list of available blocks.
Locate the new Tags block (ignore all of the random tags in it) and hover over the top of the block to display the editing icons. Click on the Configure Tags block icon.
In the Configure Tags block page, set the maximum number of tags to display. In the Tagged items context field, use the pull-down menu to select your course name. Click on Save changes to display the tags that you have attached to items in your course.
Add a comment
Please log in to submit a comment.