

You must secure a named user license through the Information Technology department before you can use Adobe's Creative Cloud apps on your own computer. Licenses are limited and are reserved for faculty and staff use. Contact the IT Helpdesk at 541-552-6900 if you are a student in need of access to Adobe Creative Cloud. We will help you locate a computer lab where we have Adobe Creative Cloud installed.
Named user licensing is a method of licensing you to use Adobe Creative Cloud that is tied to your SOU email address. It authorizes you to use some or all of Adobe's Creative Cloud suite on up to two computers. You can request this authorization through your Computing Coordinator. This article will describe the initial setup process after you have been granted a named user license for your work computer.
If you are looking to install Creative Cloud on your personal computer, consult this knowledgebase article instead: https://support.sou.edu/app#/t/article/724
Windows
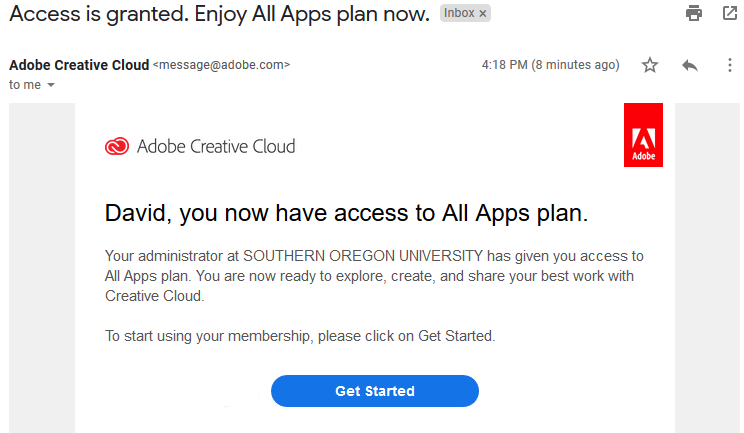
After we enroll your account, you will receive an email from Adobe that looks like the screenshot below.
NoteDo NOT click the Get Started button. We will be installing the app another way. The email only serves as confirmation that Adobe has processed our request to license you for their products.
Consult this knowledgebase article for instructions on how to locate and launch Software Center on a SOU Windows computer. Once you are in Software Center, search for "creative cloud" to find the desktop app to install.
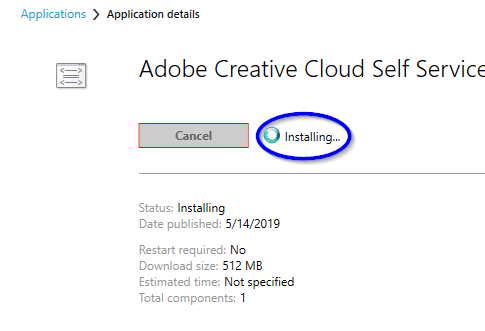
After you initiate the install, Software Center may fail to update the installation status so that it displays "installing..." as the status indefinitely. This is a known bug with Adobe's installer for Creative Cloud. The installation should only take a few minutes in actuality. As soon as you see the Creative Cloud shortcuts appear on your desktop and within your start menu, you can safely close the Software Center app and proceed to the next step.
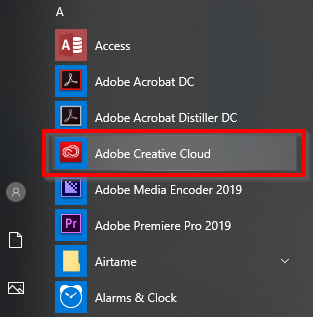
Look for a new shortcut to it within your Start Menu in the A section.
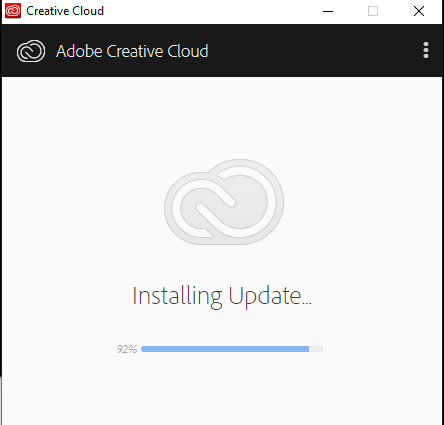
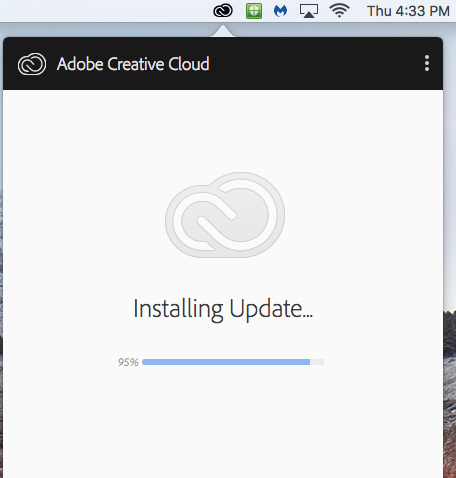
The Creative Cloud app will likely need to update the first time you run it. It should only take a minute or two for that to finish, then you can proceed to the next step.
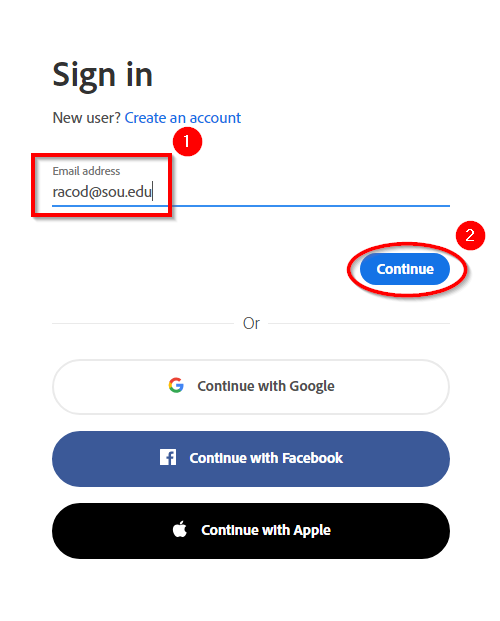
After you launch the Creative Cloud desktop app, you need to sign in. Enter your SOU email address and click the Continue button.
 Note
NoteIf you are given the choice between using your "Adobe ID" or your "Enterprise ID" in this step, choose the Enterprise option. You will only see both options if you have previously created a personal Adobe account using your SOU email address.

The link will redirect you to a new sign-in page where you should enter your SOU email address (e.g. racod@sou.edu). As soon as you try to enter your password, the app will redirect you to our familiar SOU login services page where you should enter your credentials as usual being sure to use your username and not your full email address again.
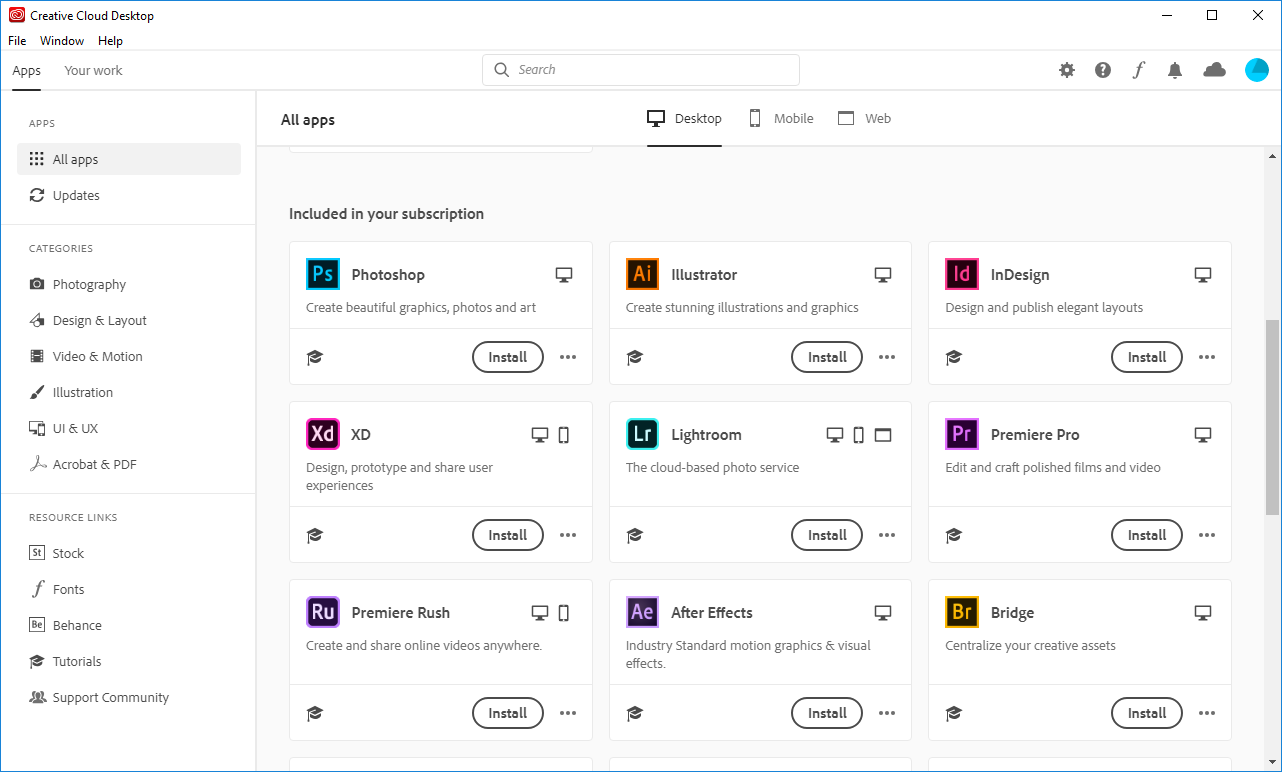
After authenticating, you should see the full list of Adobe's apps under the Apps tab in the Creative Cloud app. Download whatever you need. If you do not see the apps or the blue buttons say "Try" instead of "Install," contact your Computing Coordinator.

Macintosh
After we enroll your account, you will receive an email from Adobe that looks like the screenshot below.
NoteDo NOT click the Get Started button. We will be installing the app another way. The email only serves as confirmation that Adobe has processed our request to license you for their products.
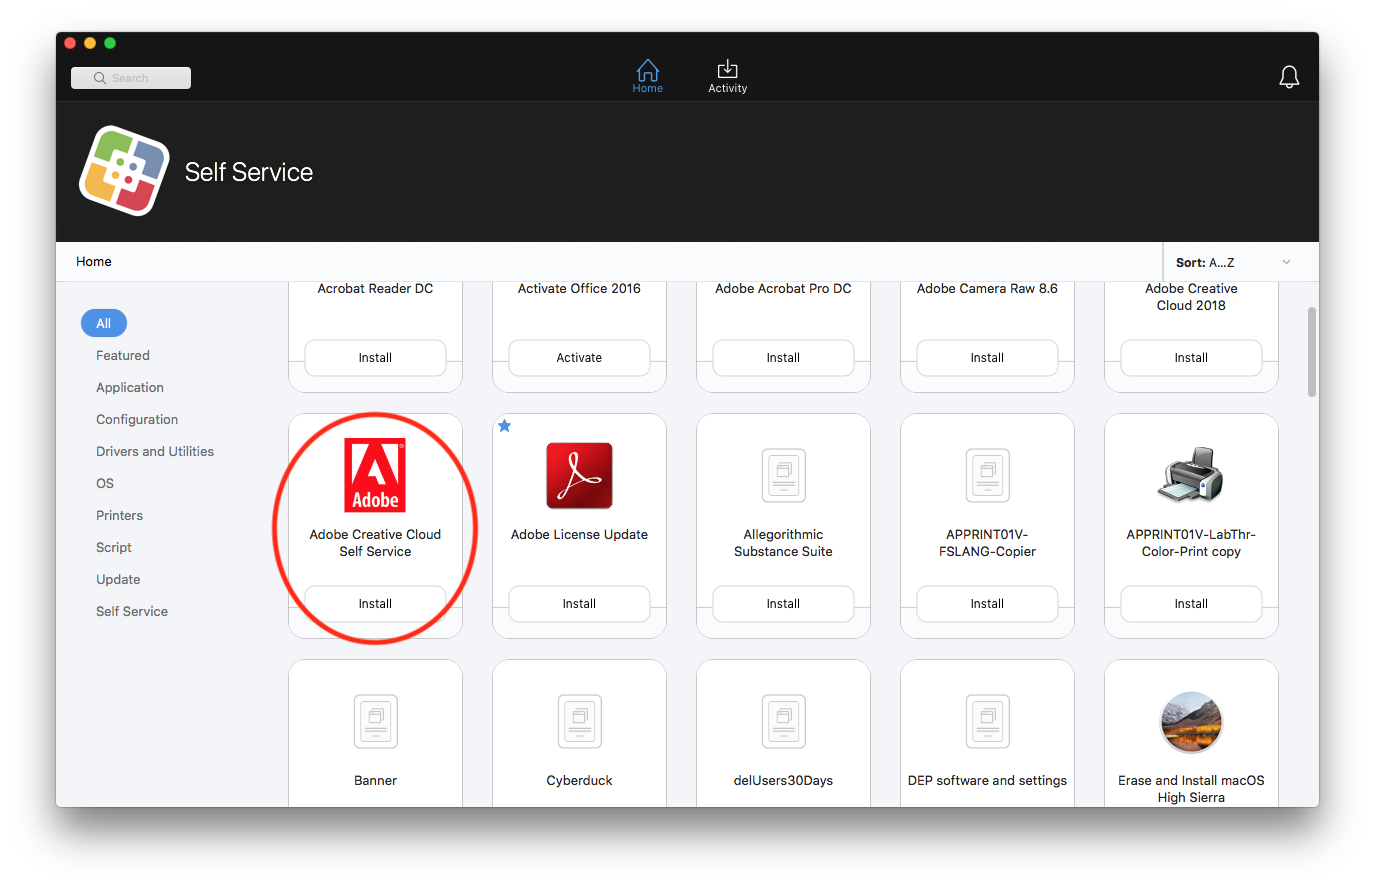
Install the Creative Cloud desktop app through JAMF Self Service
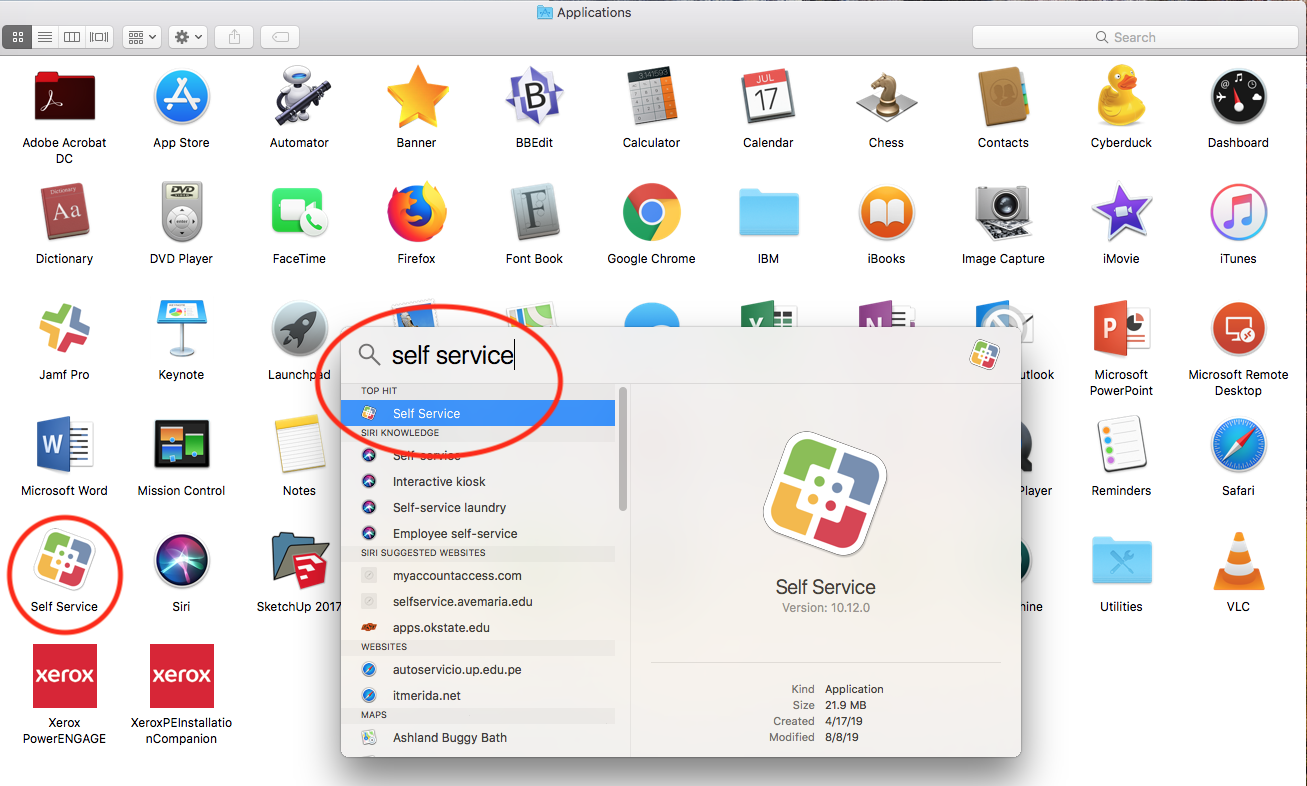
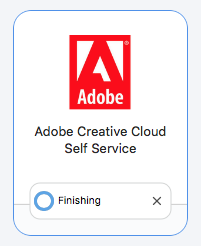
You will find the Self Service app within your Applications folder. You may also search for it using Spotlight. For more information on the Self Service app on Macintosh, consult this knowledgebase article. You want to locate and install the "Adobe Creative Cloud Self Service" item.
When the status indicator changes from "Installing" to "Finishing," you are done. The icon will disappear after the app has finished installing.
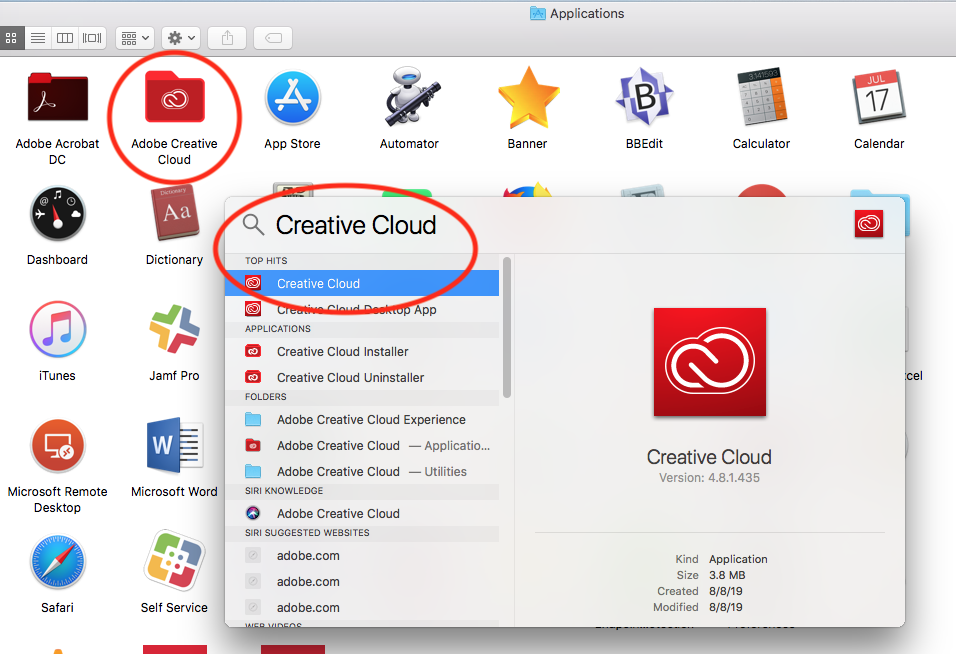
You can find it within your Applications folder, or you can search for it using Spotlight.
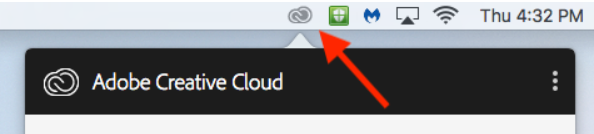
You may need to locate and left-click the Creative Cloud icon in your Macintosh menu bar in the top-right corner of the screen in order to bring up the sign-in screen.
After you launch the Creative Cloud desktop app, you need to sign in. Enter your SOU email address and click the Continue button.
- Note
NOTE: If you are given the choice between using your "Adobe ID" or your "Enterprise ID" in this step, choose the Enterprise option. You will only see both options if you have previously created a personal Adobe account using your SOU email address.
After authenticating, you should see the full list of Adobe's apps under the Apps tab in the Creative Cloud app. Download whatever you need. If you do not see the apps or the blue buttons say "Try" instead of "Install," contact your Computing Coordinator.
Add a comment
Please log in to submit a comment.