

This article will show you how to host and join a Google Meet session for web conference and remote presentations. If you need help with Google Meet, contact your Computing Coordinator or call the IT Helpdesk at 541-552-6900. If you are experiencing an issue with Google Meet, please check if it is a known issue before you contact us. There may be a simple fix that you can perform right away to address the problem.
Requirements
You will find a full list of requirements for Google Meet here. Google is extending some premium features to us through July 1st, 2020 as a response to COVID-19.
- Meets can host up to 250 participants per call.
- You can record your meets to Google Drive.
- You can invite groups to your meet.
- You can call into a meet with a phone (audio only).
TIP: If you want to use a remote whiteboard feature along with Google Meet for a complete remote lecture solution, you should try Google Jamboard.
How to Host a Google Meet
From the Google Meet App
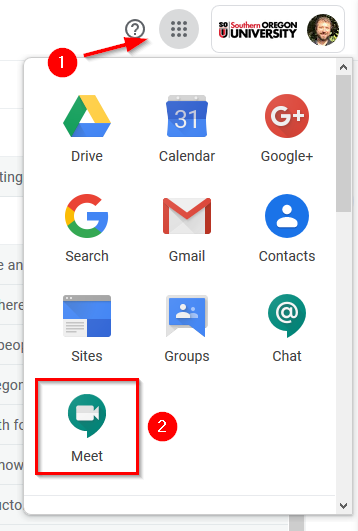
Step 1 - Launch Google Meet using the Google app picker
You will find the app picker button next to your profile icon in Google Mail. Look for it in the top-right area of your screen. After you click the app picker icon, look for the Google Meet icon in the list of Google apps and then click on it.
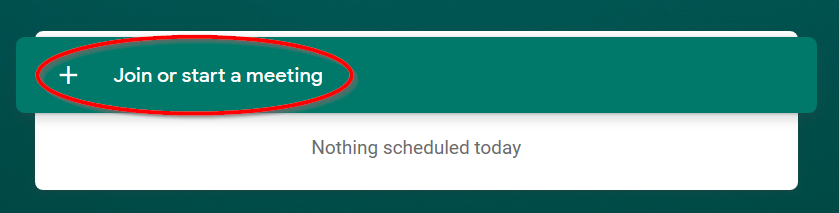
Step 2 - Start a New Meeting
On the Google Meet screen, click the button labeled Join or start a meeting.
You can either provide a nickname for your Google Meet or leave the text field blank to receive a randomly-assigned meeting code. The advantage of using a nickname is that you can more easily share your Google Meet with others by enabling them to join it by using the friendly nickname rather than by using a random code. Participants can only join your meeting via its nickname if they are SOU employees or students. Nicknames will not work outside of the SOU domain!

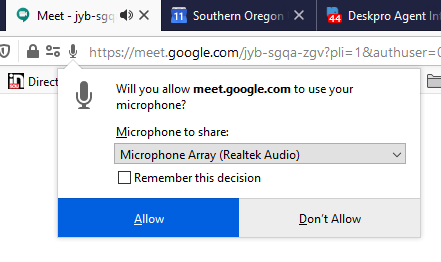
If your web browser prompts you to allow meet.google.com to access your computer's webcam and microphone, be sure to allow it!
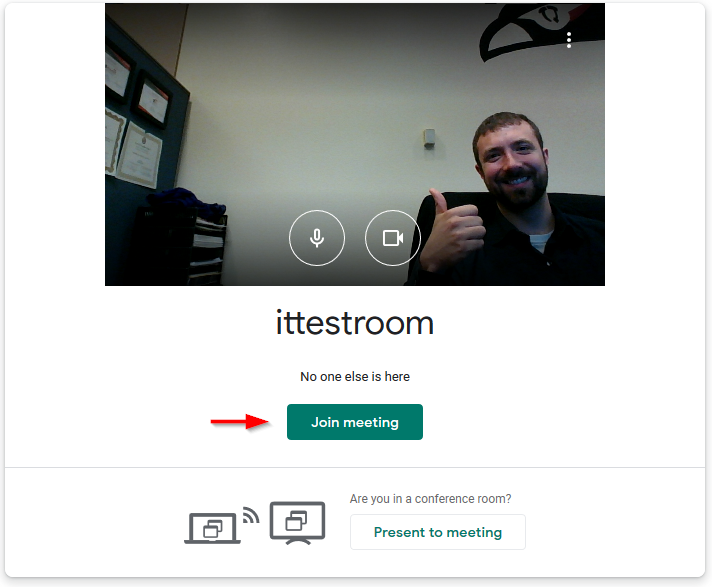
If everything goes well, you should see yourself on the screen. Click the Join meeting button when you are ready.
Step 3 - Invite People to Your Meeting
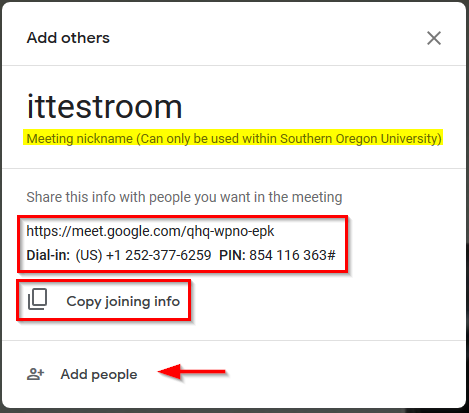
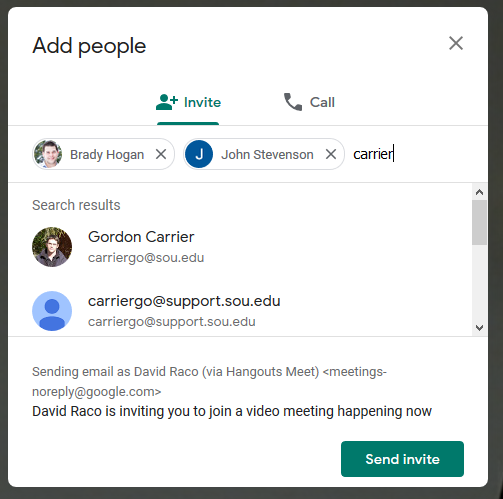
When you join the new meeting you hosted, you will see a pop up window where you can conveniently copy the meeting information to send to people. You can also use the Add people button to start inviting people by email. This is a great option if you are inviting SOU colleagues or students to your Google Meet because their names will autofill for you. You can also type in the name of a Google Group to invite all members of the group.
Tip for Faculty: You can easily invite your entire class using the email group for the CRN number. For example, if you want to invite all of your students in your CRN 4000 class, you could invite 4000@sou.edu.
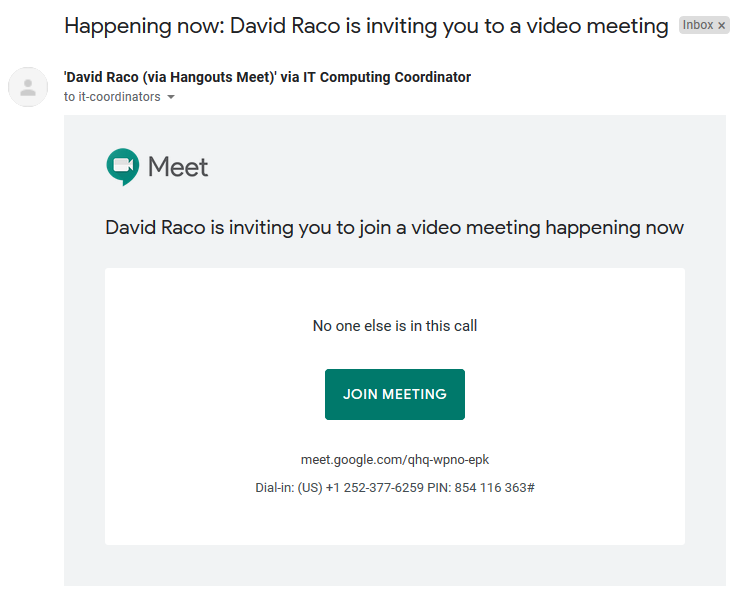
When you use the Add people button, your guests will receive an email invitation that contains a join meeting button, a direct URL to the meeting, and the phone numbers for calling in.
From Google Calendar
You can schedule and embed a Google Meet right into your Google Calendar invitations.
Step 1 - Create Your Calendar Event and Add Conferencing
Create your calendar event in Google Calendar, but before you save it, add conferencing using the button for Add conferencing right below the location field.
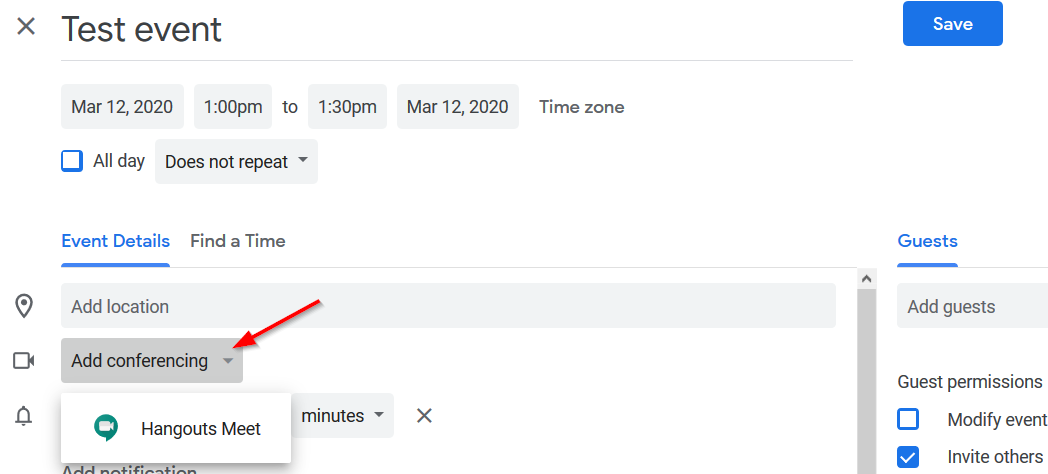
After adding the Google Meet session with a single click, the meeting ID will appear. You are ready to save the calendar event and send out the invitations.

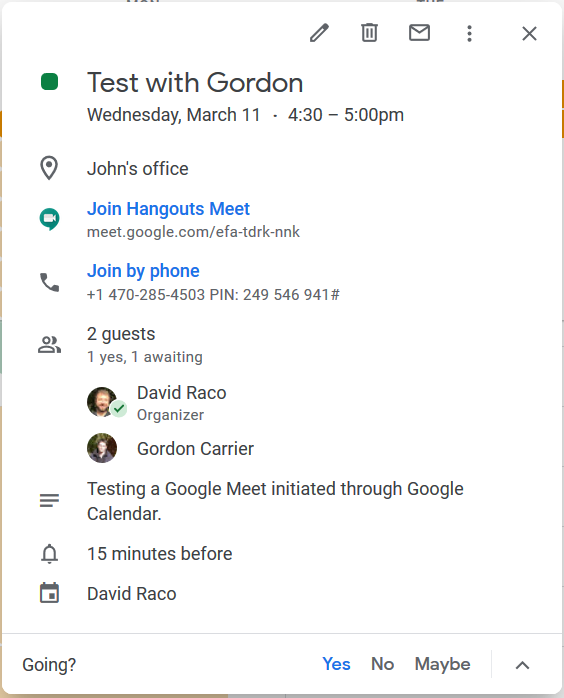
After saving the calendar event, you can easily find the details for your scheduled Google Meet session by opening up the calendar event again.
Step 2 - Join Your Scheduled Meeting
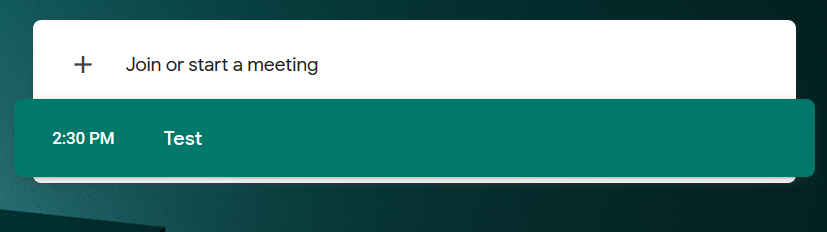
You can join your scheduled Google Meet through the link in your calendar event, or you can join it with one click when you go to meet.google.com (see the instructions for hosting through Google Meet). Your scheduled meetings will appear under the button for joining or starting a meeting.
How to Control Your Google Meet
After you have started your Google Meet, this is how you can control it and end it.
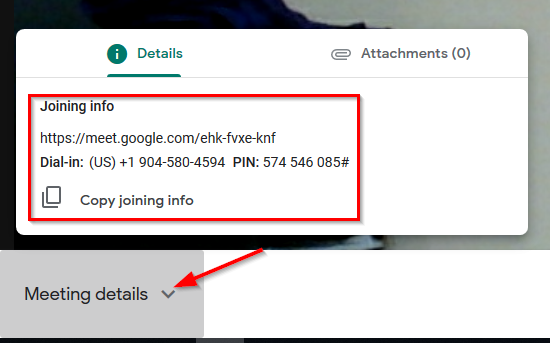
Find your meeting info again
Use the Meeting details button in the bottom-left corner of the screen to find your meeting info again.
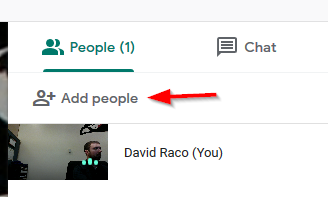
Invite more guests
Click on the people icon in the top-right corner of the screen. The number next to it shows you how many guests are already in the meeting.
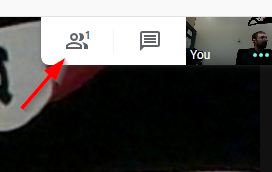
Use the Add people button to invite more guests.
Mute audio and toggle video
Look for the microphone button and the camera button on either side of the hangup button in the middle of your screen along the bottom. Click them to toggle the microphone and/or the camera on and off.
 Camera and Mic are on
 Camera and Mic are off
Audio and Video settings
Click on the three vertical dots in the bottom-right corner of the screen, then select Settings from the menu.
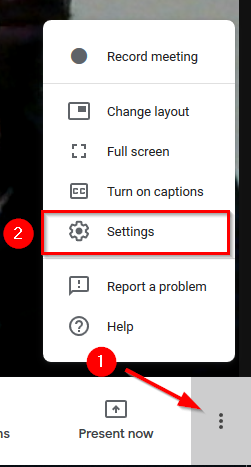
You can then adjust the audio and the video settings that appear on the screen. You may need to adjust the video settings if you are having issues with video quality or if Google Meets does not select the right webcam to use. (For example, you connect a USB webcam to a laptop that also has an integrated webcam.)

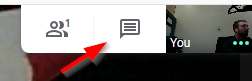
Chat with participants
Click on the chat icon in the top-right region of the screen to chat with your participants.
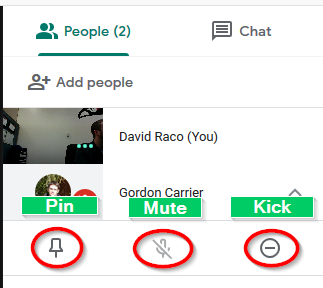
Pin, mute, or kick participants
Bring up the people window that shows your participants.
Click on the participant, then use the buttons below their name to pin their video feed on your screen, mute their audio, or kick them from the meeting.
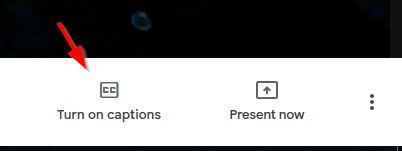
Turn on captions
Turn on captions to provide real-time closed captioning as you speak. Be careful, though. The speech recognition isn't perfect.
Look for the Tun on captions icon along the bottom of the video feed. Click it to start.
As you speak, Google will translate your speech into text that goes out along with your video feed. Again, your results may vary.

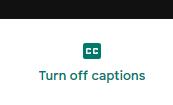
To end captions, just click the same button to toggle it off.
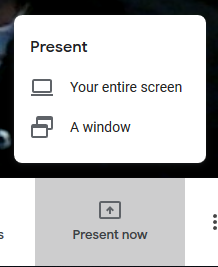
Share your screen (presentation mode)
To share your screen, use the Present now button next to the captions button. You will have the option to present either your whole screen or just a particular window.
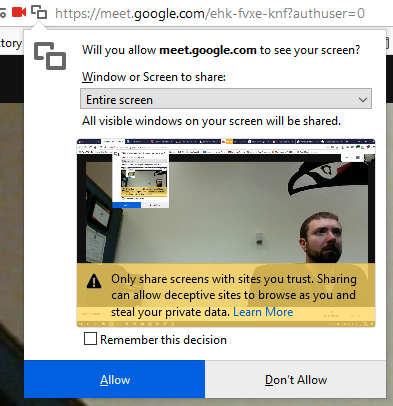
If you are prompted to allow meet.google.com to see your screen, be sure to allow it. You may also need to tell your web browser which window to share, or select Entire screen.
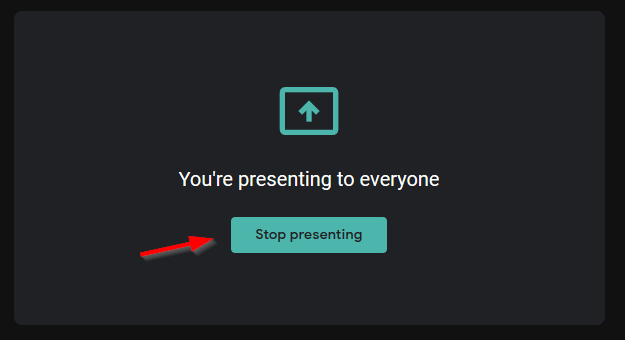
To stop presenting, switch back to the Google Meet window in your web browser and click the button to stop presenting.
Change layout
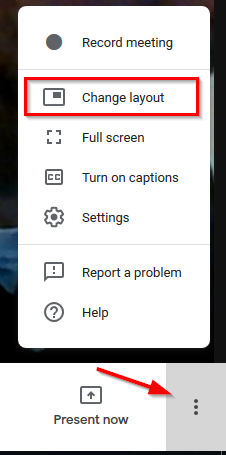
You can change the layout of your Google Meet session by clicking on the three vertical dots in the bottom-right of the screen and then selecting Change layout.
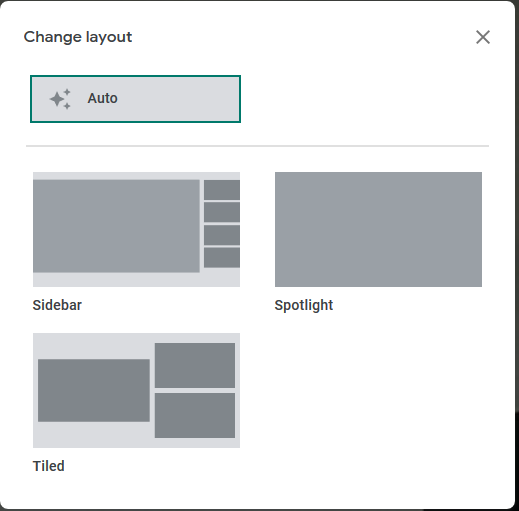
Your options are sidebar, spotlight, or tiled.
Enter Full screen
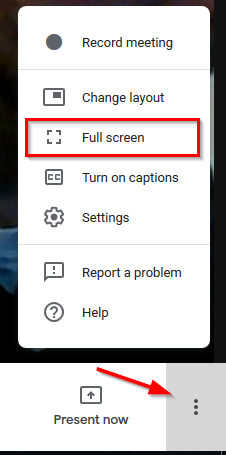
You can enter full screen by clicking on the three vertical dots in the bottom-right of the screen and then selecting Full screen.
You can exit full screen by following the same steps (the full screen button will become an "exit full screen" button), or you can just press Escape on your keyboard.
Record your meeting
All meeting participants will be notified when recording begins. You can learn all about recording a meeting at Google's help website. By default, the saved recording will be sent to your Google Drive about 10 minutes after the end of the meeting.
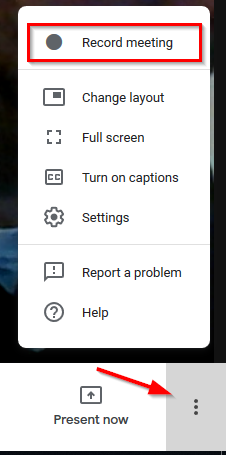
Start the recording by clicking on the three vertical dots in the bottom-right corner, then select Record meeting.
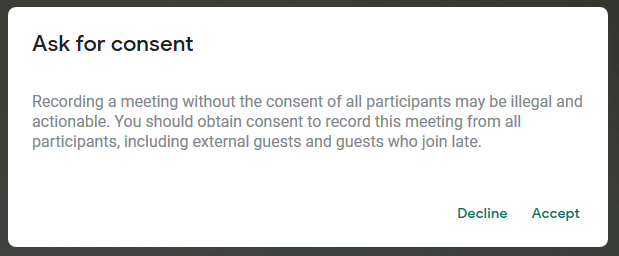
When you start the recording, Google will remind you to ask everyone for their consent to be recorded.
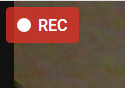
You will know the recording has started when you see the red Rec button in the top-left corner of your video feed.
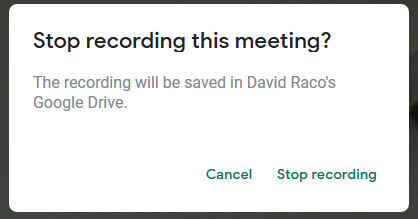
Follow the same instructions as starting the recording to stop the recording. The start recording button will become a stop recording button.

After you click the button to stop the recording, Google Meet will ask you for confirmation and will tell you where the recording will be saved.
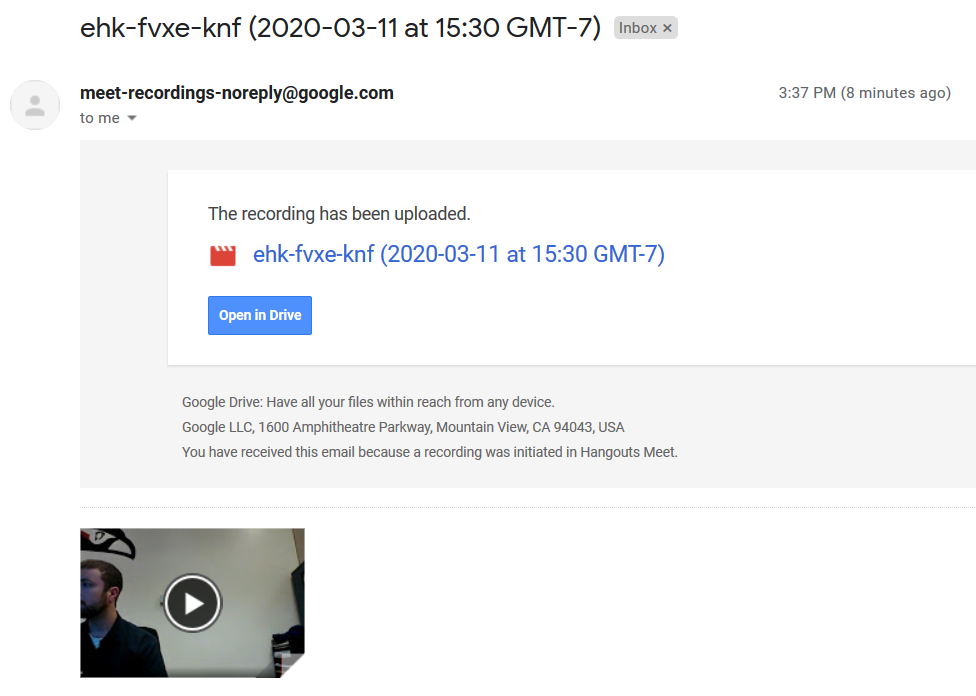
When the recording is finished, you will receive an email with a copy of the file tagged with the meeting ID.
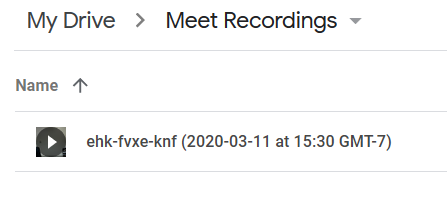
You can find the file in your Google Drive under My Drive -> Meet Recordings.
Leave the meeting
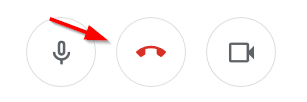
To leave your meeting, click on the red "hang up the phone" icon in the banner along the bottom of your video feed.
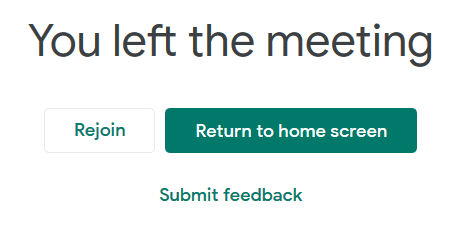
Leaving the meeting as the host does not end the meeting. It can continue without you, and you can rejoin using the rejoin button on the end screen, or you can rejoin using your meeting code if you wrote it down somewhere.
How to Join a Google Meet
If you do not receive a link to join the meeting in an email, then you will need to enter the meeting code when you go to meet.google.com. (See the hosting instructions for how to get there.) If you are joining a scheduled meeting, then you might also see a one-click link to the meeting when you visit meet.google.com.
 Joining from a link in an invitation email
 Joining using a meeting code or a meeting nickname
 Joining a scheduled meeting
Add a comment
Please log in to submit a comment.